How to create interactive readings with the Figma tool
To create an interactive reading we will use the Figma tool. To familiarise yourself with and use this tool it is essential that you follow the Mockup’s course on this website. Although we can use the full potential of Figma, for the illustration of this course we will rely primarily on the insertion of text and images in the design interface. The user interactions with the text, i.e. what makes the story interactive by giving the reader a leading role, will be designed in the prototyping interface.
After preparing the frames, we begin to insert the elements (text, images, etc.) of the story. Frames can be inserted as we create the story, so it can grow and become as complicated as we want it to be. If the story is long or complex due to the number of interactions, it is advisable to make a sketch on paper before starting the design with Figma.
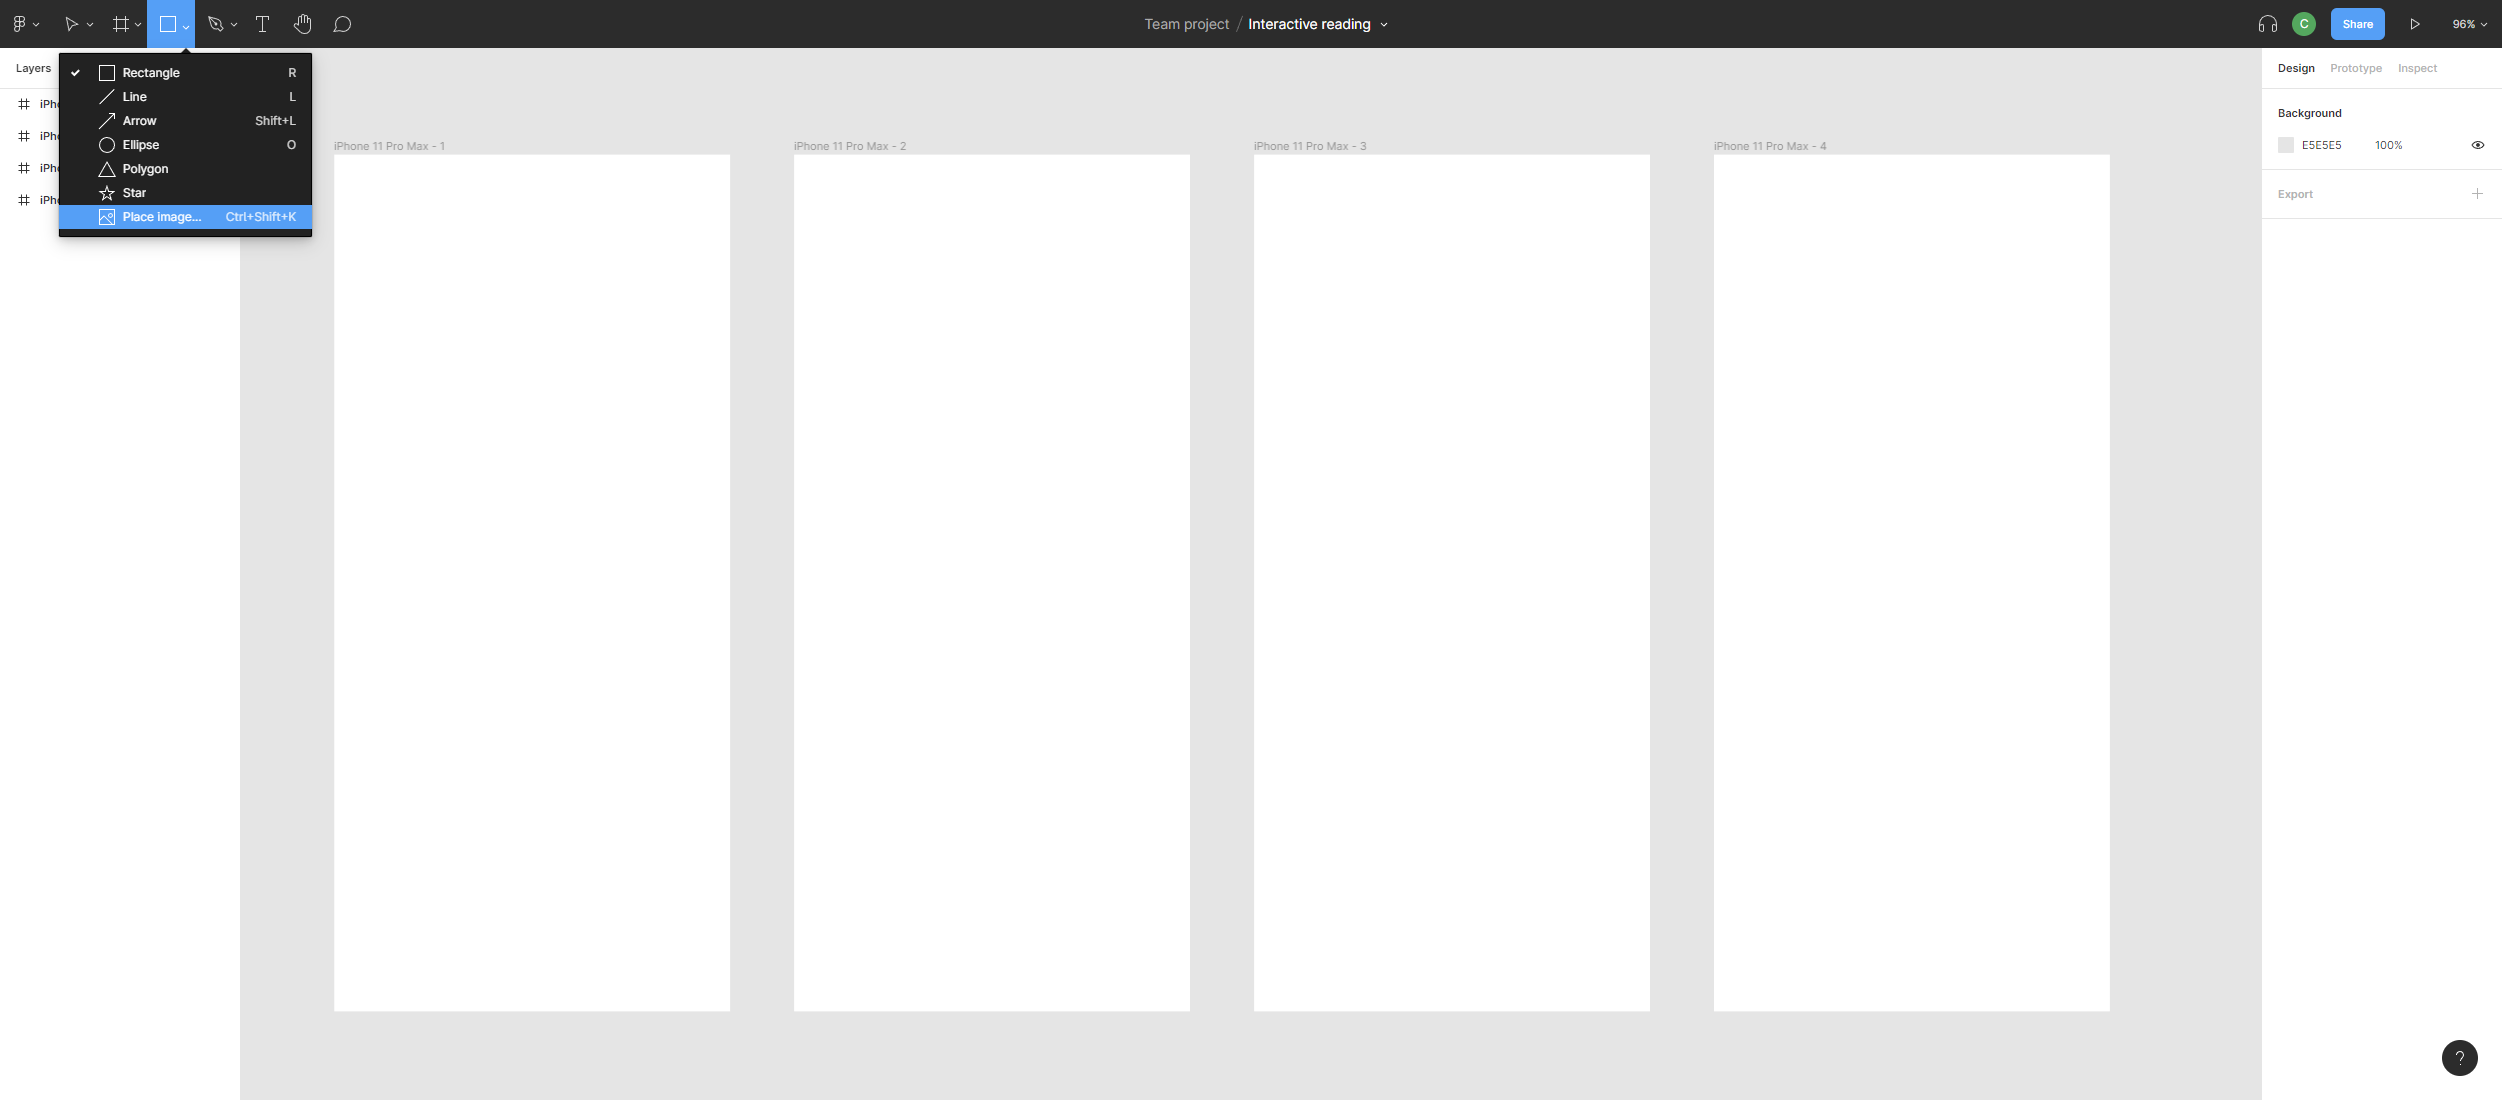
In the case of the example you will only have 4 frames as we see below:
In this example we take and modify the texts of the following story:
Story: https://learnenglishkids.britishcouncil.org/sites/kids/files/attachment/short-stories-ali-and-the-magic-carpet-transcript.pdf
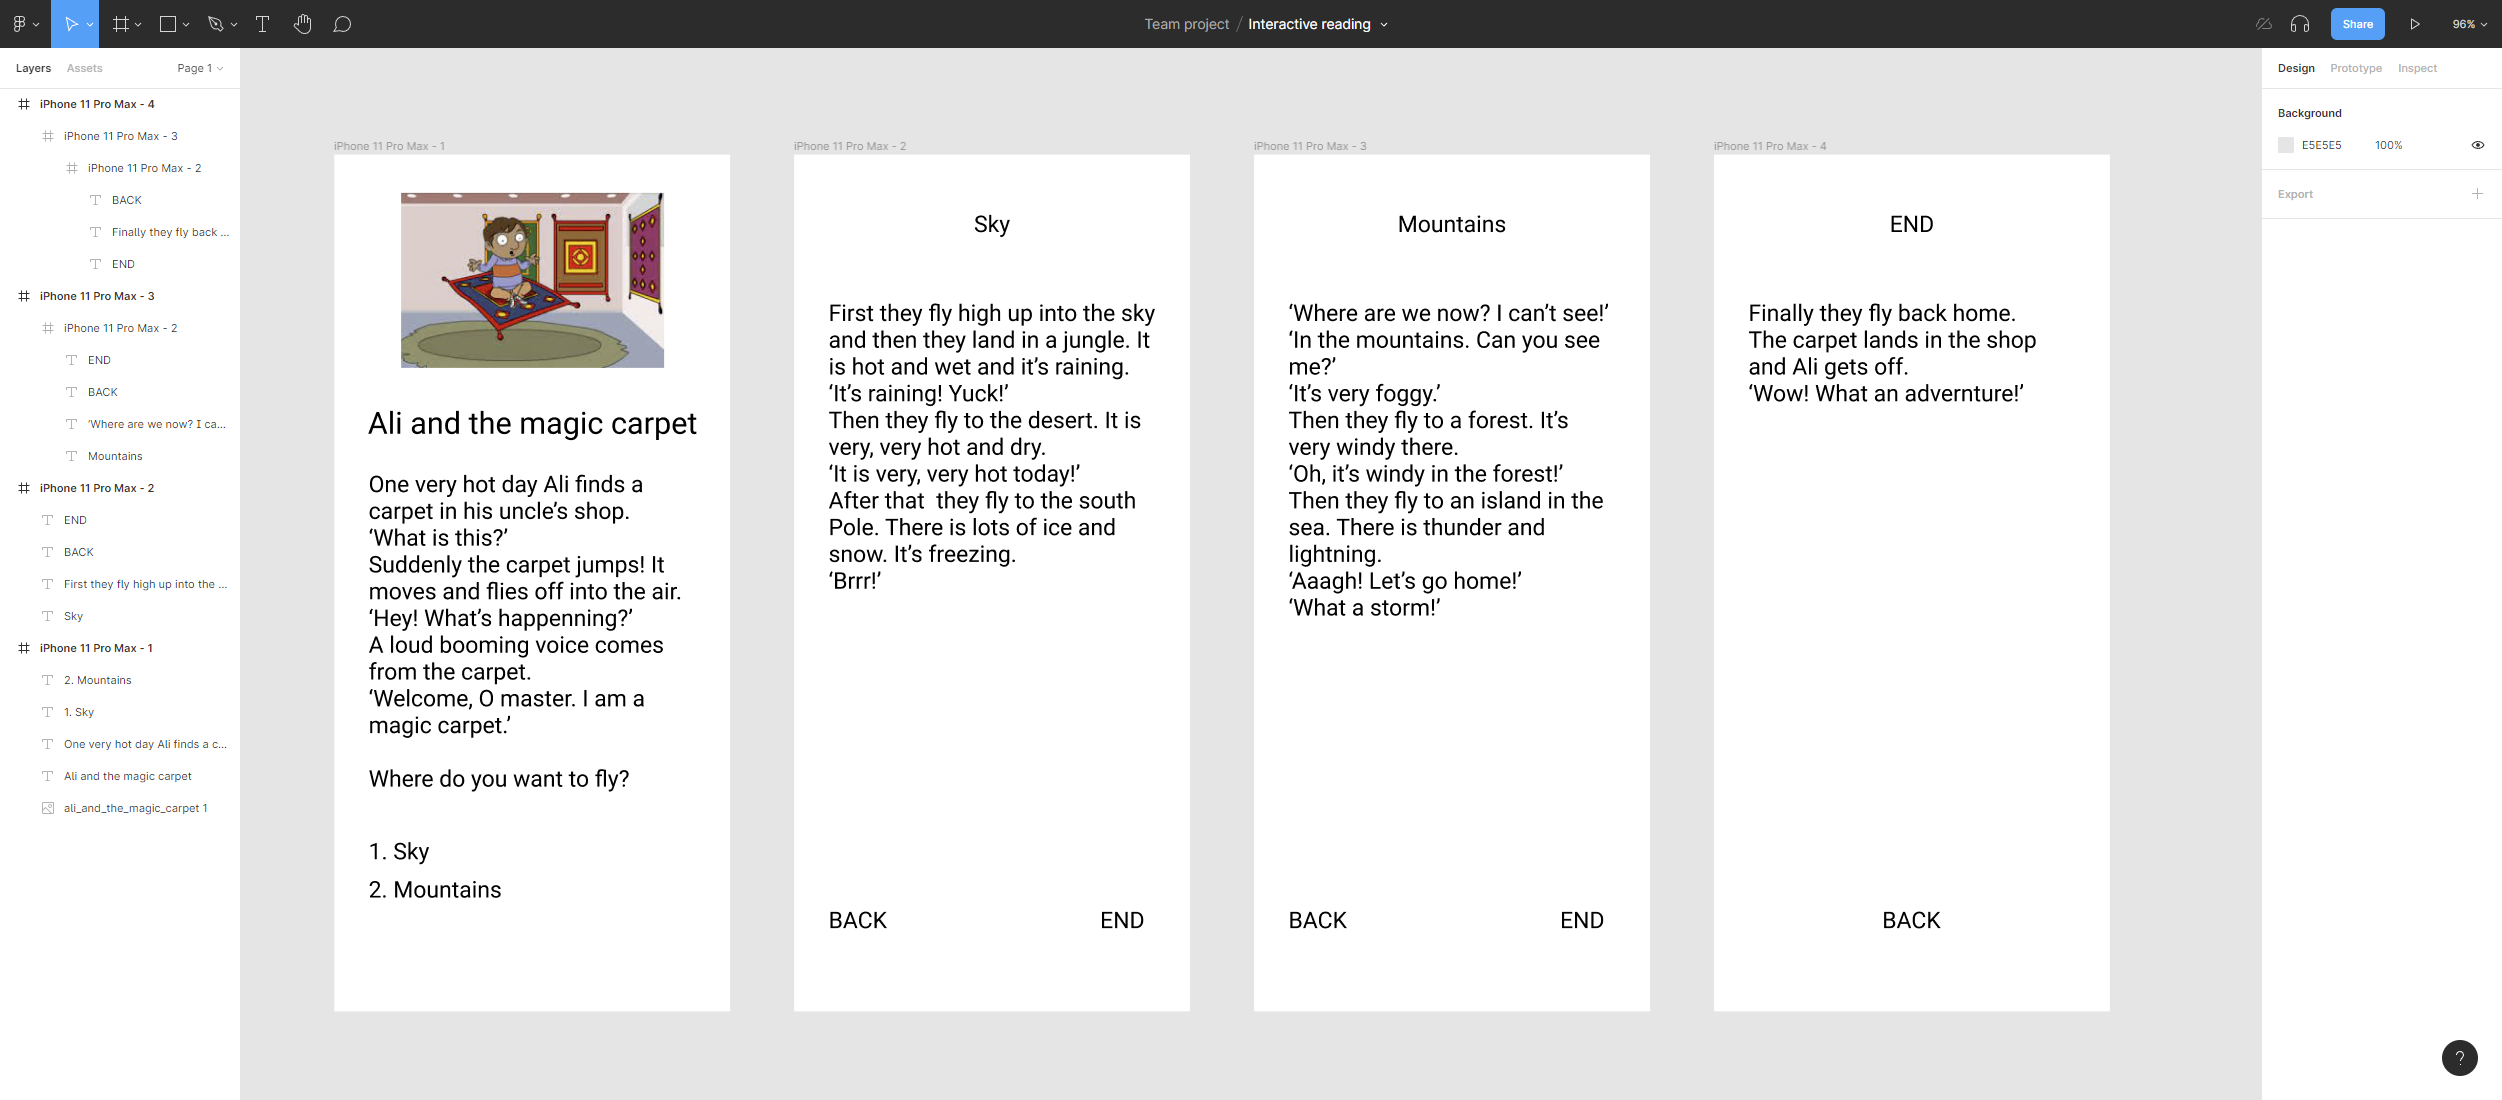
Then we introduce the texts, images and interaction elements (remember that we are in the design interface of the Figma application).
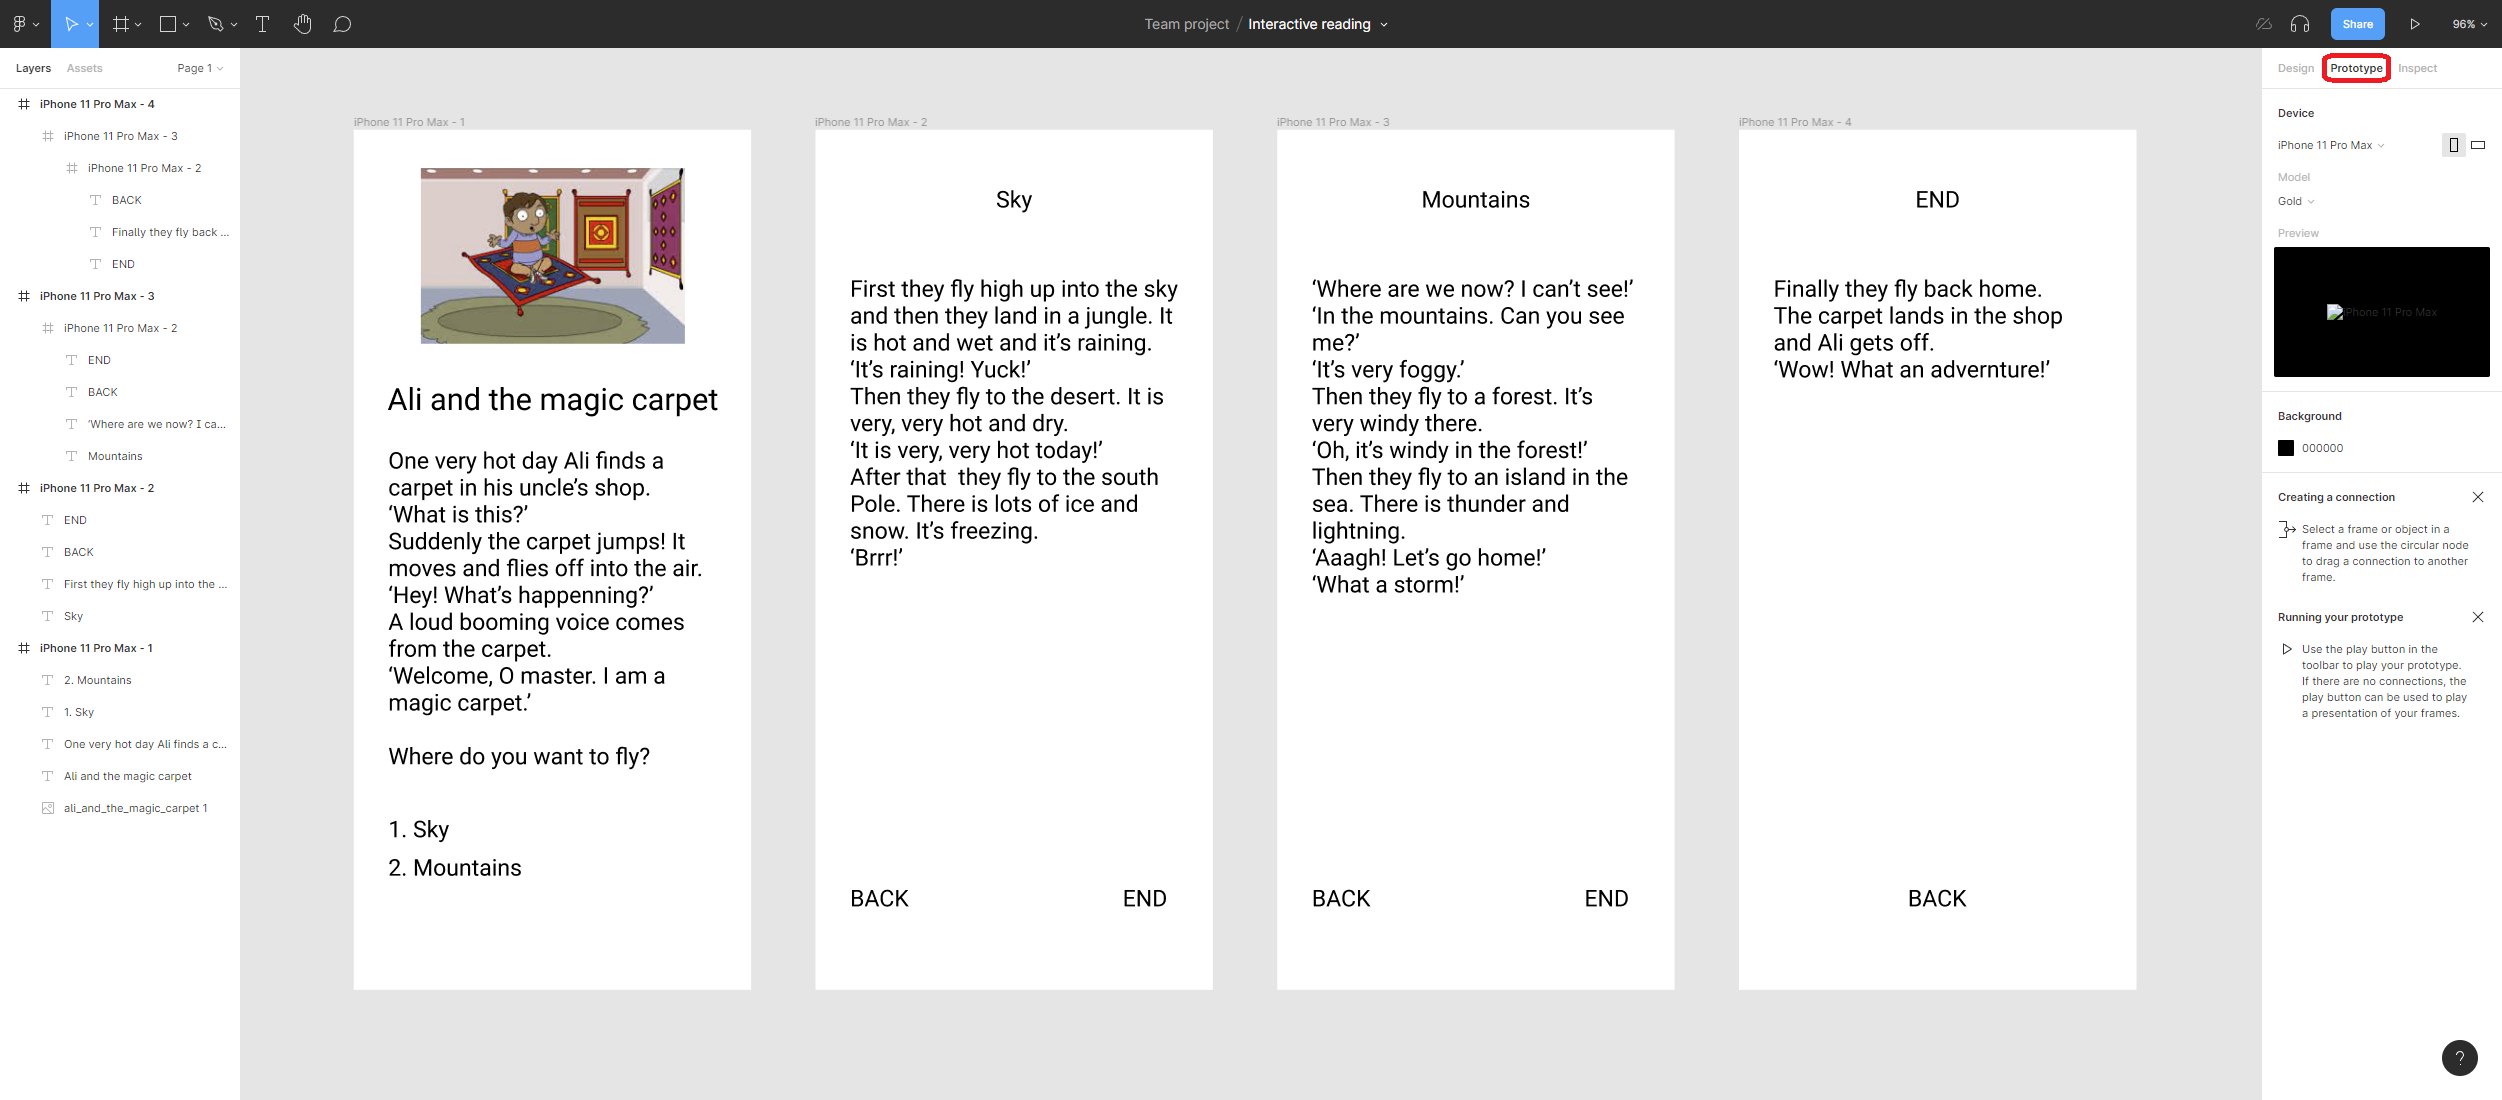
and we go to prototyping mode
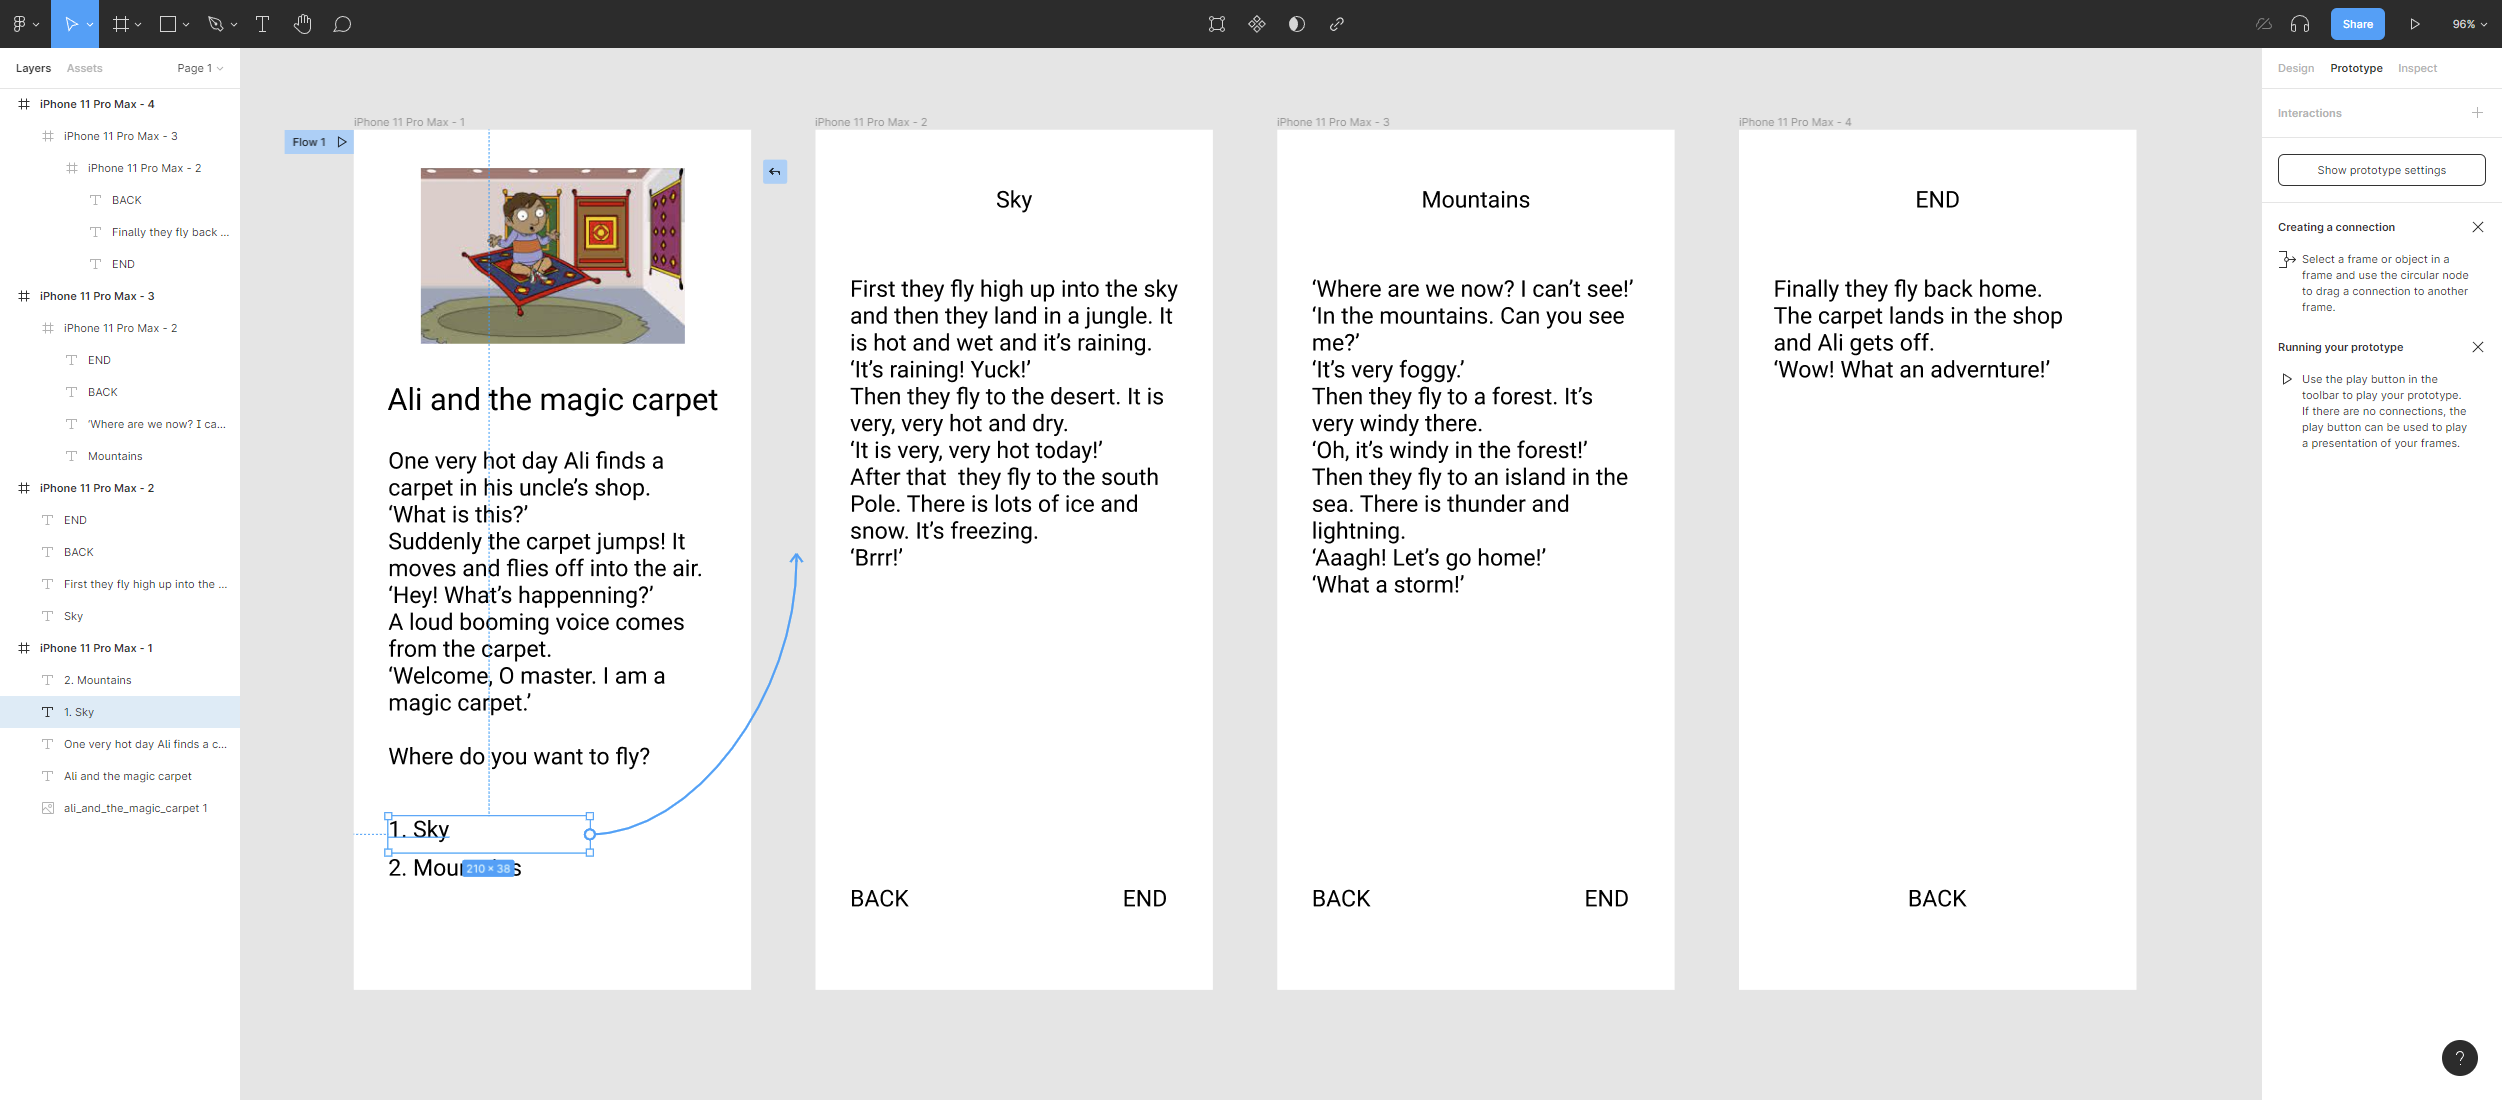
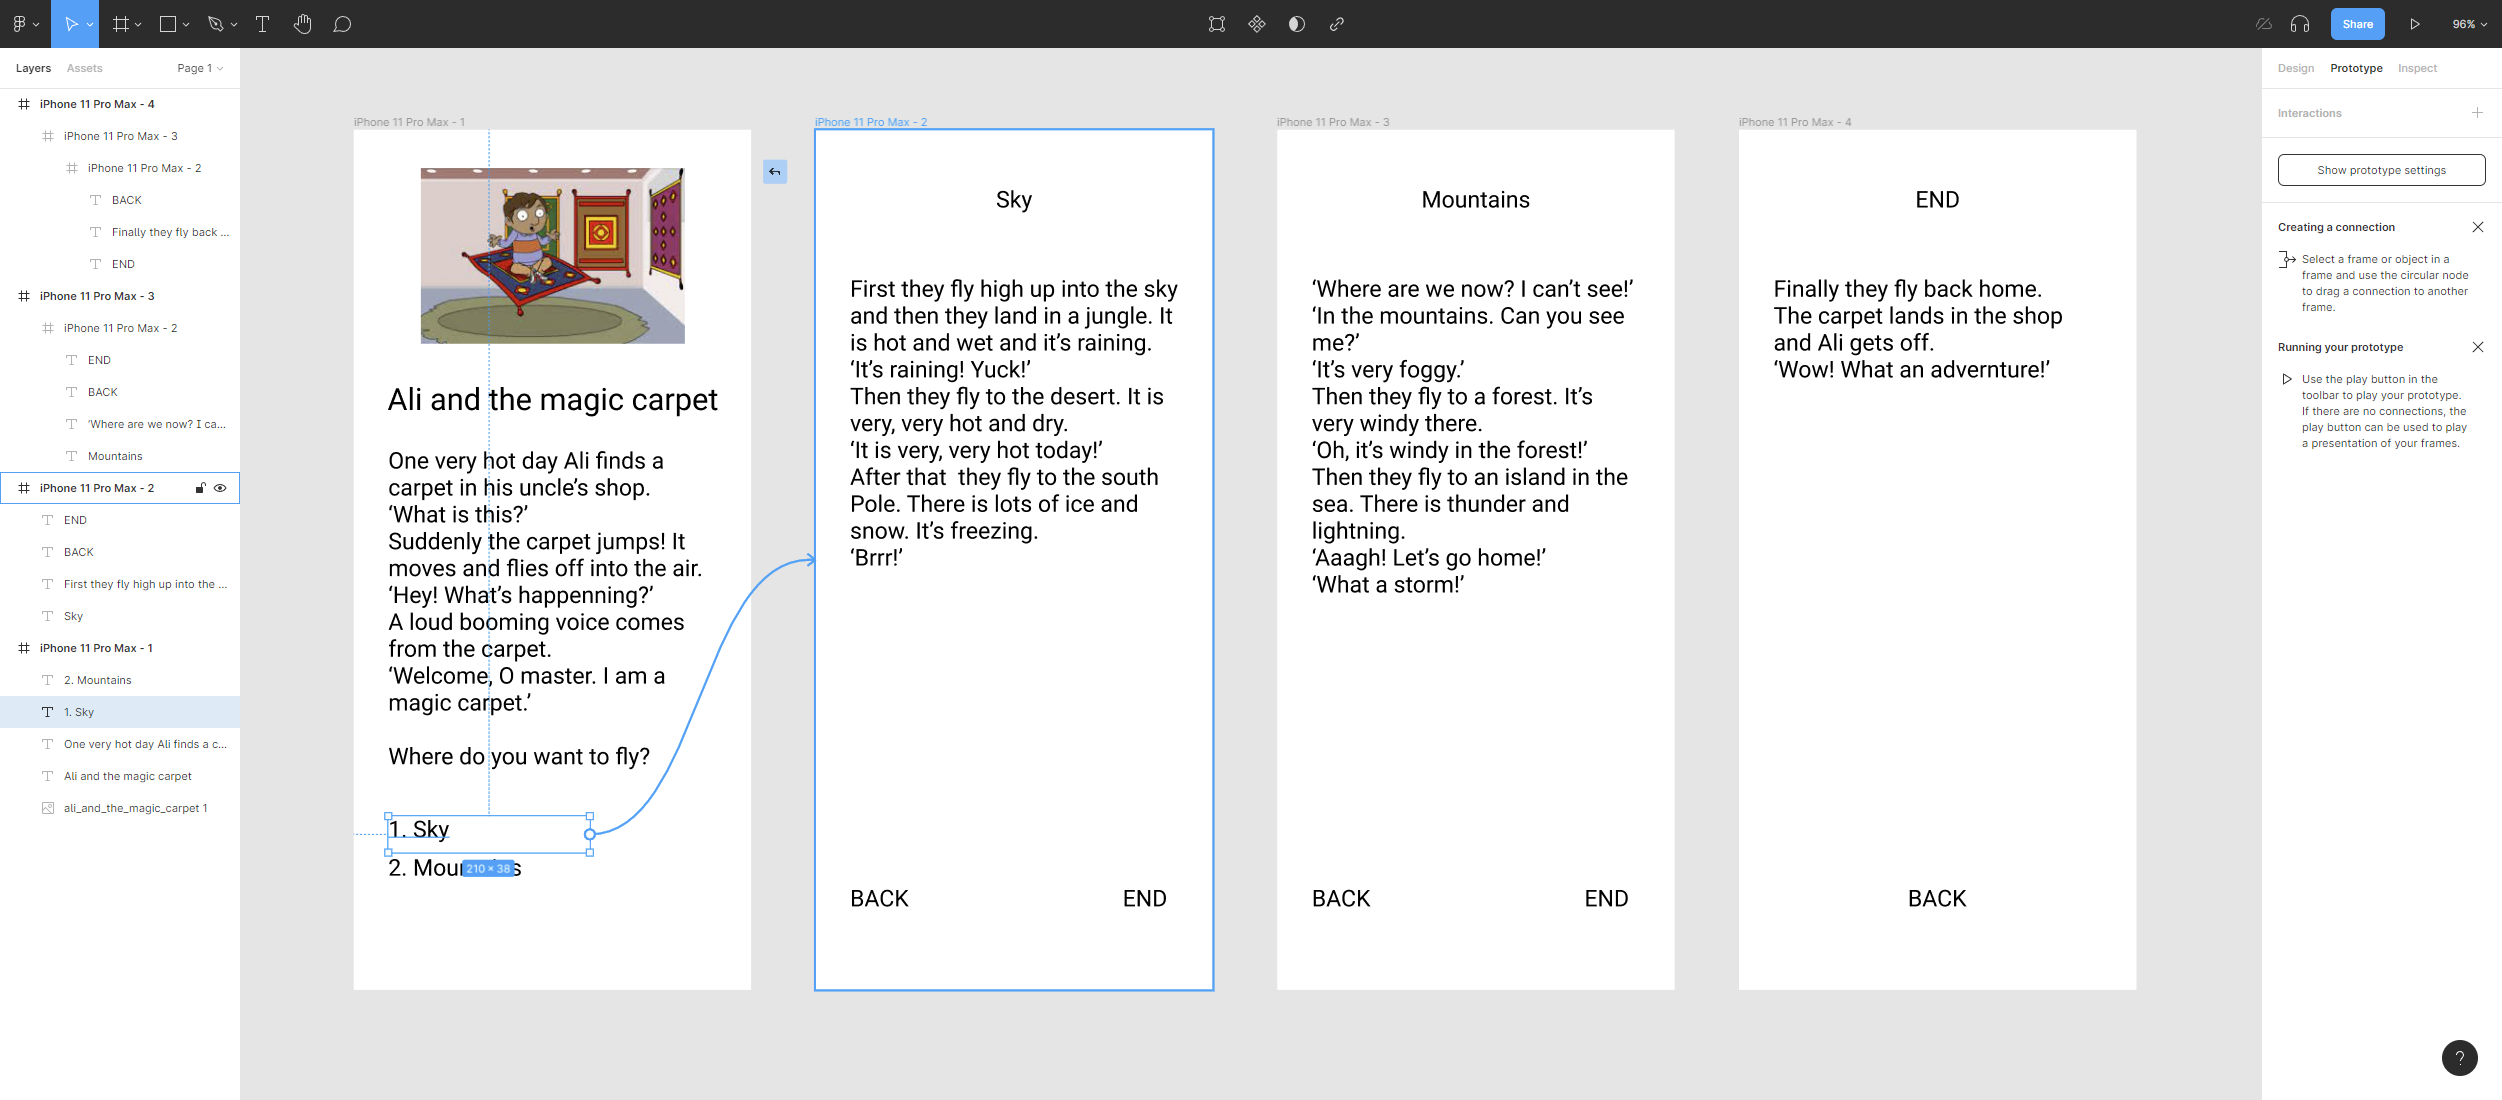
Once in the prototyping interface, we click the left mouse button on the circle of the element for which we want to establish the interaction.
Drag the arrow to the frame where you want to carry out the action and release.
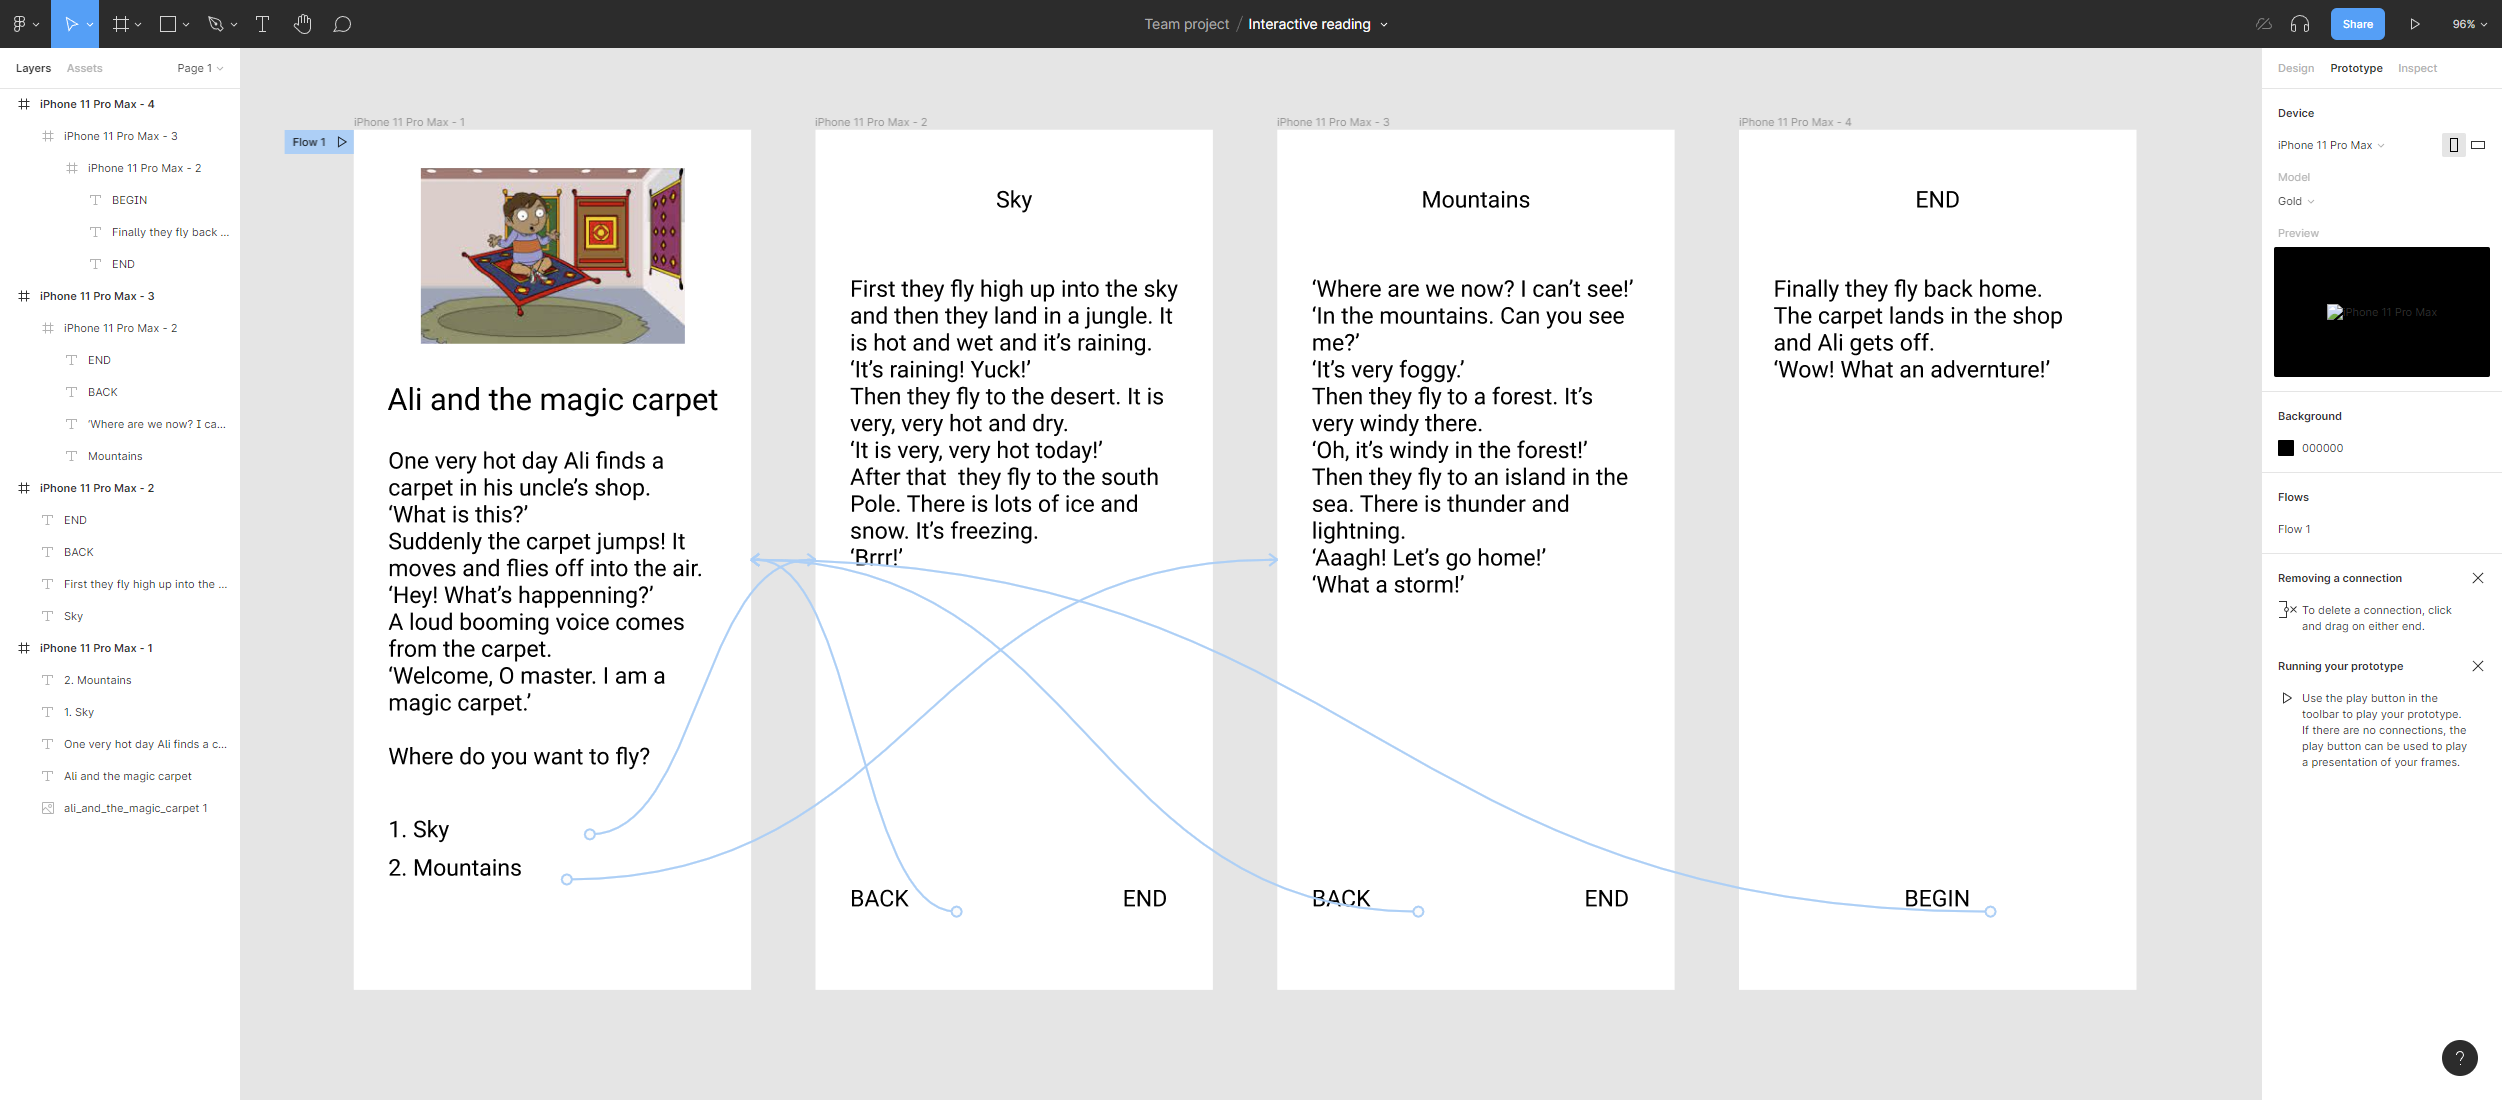
Repeat the action until all the planned interactions of the reading have been completed.
In the following video you can see all the steps explained.


