Loops and conditionals
In this lesson we will discuss two of the most basic but most important elements of any programming language: Loops and conditionals.
Both are in any program, game, and even in physical devices such as video game consoles, telephones, televisions, servers, among a long etcetera. These elements help programs to interact and adapt to events such as a keystroke or character movement.
But What are loops and conditionals?
A loop is a set of functionalities that are repeated over time. More rigorously, it is a set of instructions that are executed whenever a certain condition is met.
A conditional is a programming structure that executes a piece of code whether a certain condition is met.
As we can see, both concepts are closely related and often are used together.
To put this in context, let’s consider the following example: Suppose we want our character (the cat) to count from 1 to 10, and when it reaches the end of the count, it displays a message saying “We have finished counting”.
Figure 15 shows step by step how the code has been built.

Figure 15. Counter implementation and message display
Although the different types of loops will be described later in this lesson, for this first example, we will use a block called “repeat x“. This allows whatever is entered into the block to be executed ‘x’ times (default 10 times). With this block we have already defined the way in which we are going to carry out the count, so the only thing we would need to do is to show the character saying the count, by means of a dialogue bubble. This is achieved by means of a block called “say“, which displays on screen whatever we write in it.
We want to display the count on the screen. However, this is done internally by Scratch to move from one iteration to the next. This means that we do not have any variable to give us the value of the count, so we have to create one. For that, we have defined a variable called “counter” that we have initialized with a value of 0, which we are going to increment in each iteration of the loop. This can be done in several ways, but the simplest is to use a block called “add to VARIABLE“, which allows you to increase or decrease the selected variable by the amount you specify. As we want to count one by one, we set the value to 1.
With this code the character would already be able to count from 1 to 10 without any problem, but we want to display a message indicating that it has finished the count. Here is where the conditionals come into play.
For this, we will use one of the simplest conditional blocks, the “If … then“, which is shown in the third part of Figure 15. As the count ends when it reaches 10, if we do this check with the conditional block, we can know that our program has already finished counting, so we can display a message on the screen indicating this event.
Figure 16 shows the code described above in operation.

Figure 16. Example of loops and conditionals
Now that we understand how loops and conditionals work, we are going to analyze each of them in depth.
LOOPS
We already know that a loop is a structure that is repeated a certain number of times, so now we are going to see the different types of loops that we can implement in Scratch:
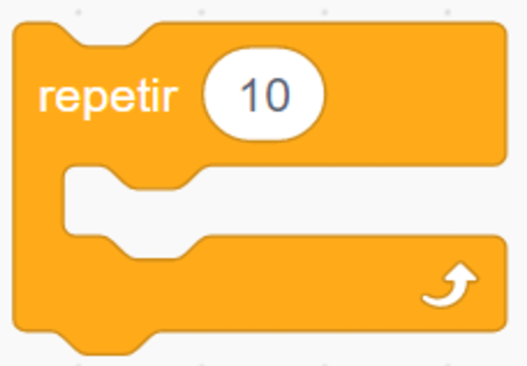 |
Repeat: Allows to execute a part o the code a finite number of times. This maximum number of iterations can be set statically (as shown in the picture) or can be modified at runtime by any external event. |
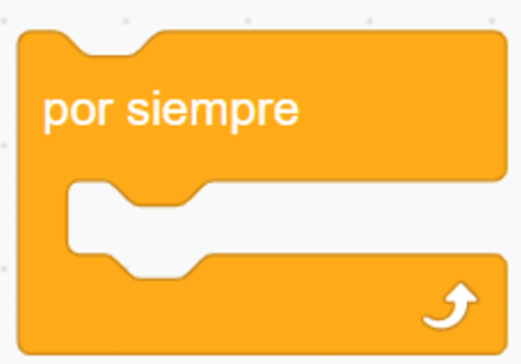 |
Forever: It is similar to the previous one, but in this case, everything that is placed inside it will be executed indefinitely. Although initially the loop will never stop, it is possible to stop it by using additional blocks that allow the loop to be exited abruptly. |
 |
Repeat until: This is a combination of the two above. This block will execute whatever is inside it indefinitely until a certain condition is met. In this case, the exit condition can be numbers, or events such as touching a key or hitting an obstacle. |
|
|
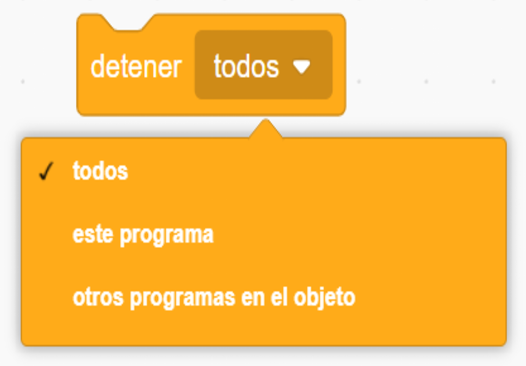
Stop: Not a loop structure like the previous ones, this one allows to stop (not pause) a loop abruptly. In programming this is known as ‘BREAK’. Scratch provides different stopping options:
|
Figure 17. Types of loops in Scratch
The use of loops is not limited to counting as in the previous example, but they are an essential element of any program, being able to move the character around the stage at a certain speed, or even perform animations, among an infinite number of possibilities.
A continuación, vamos a ver unos ejemplos prácticos, que nos van a permitir ver el potencial de este tipo de estructuras de programación enfocadas al desarrollo de videojuegos.
Example 1: Change the color of a character
Everything we see in a video game, from the characters to the scenery, has a color that is defined by the combination of three colors: Red, Green and Blue, or RGB for short. In Figure 18 we can see how the variation of each of these three individual colors affects the background color.
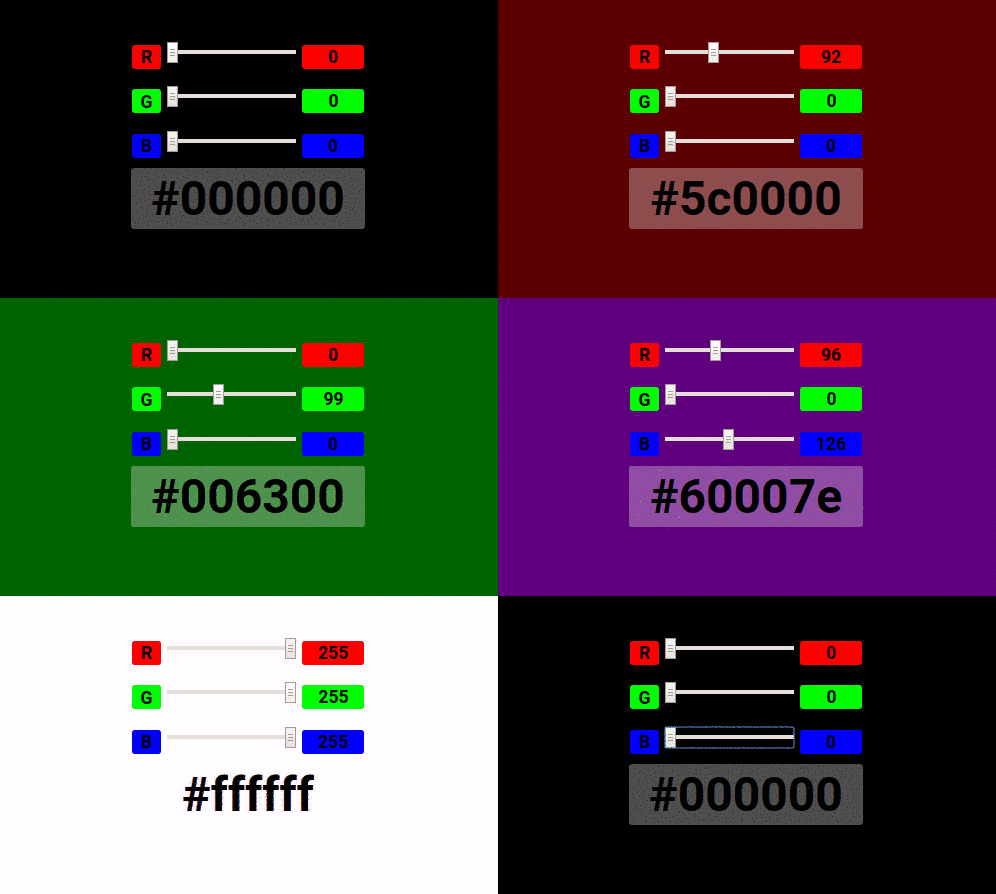
Figure 18. RGB color encoding
This is possible because each of these colors takes a value ranging from 0 to 255, i.e. the colors can be defined as a number that we can manipulate.
Scratch includes a specific block for alternating these colors, called “Add to effect…“, which is shown in Figure 19. This is actually a block of effects, including the color change, which is the one we are going to use in this first practical example.

Figure 19. Effects block
Our aim with this first example is to make the character constantly change color. To do this, we will first use a new character. Although we can create a new one, in this example we will select one of those already available in the Scratch gallery, as shown in Figure 20.
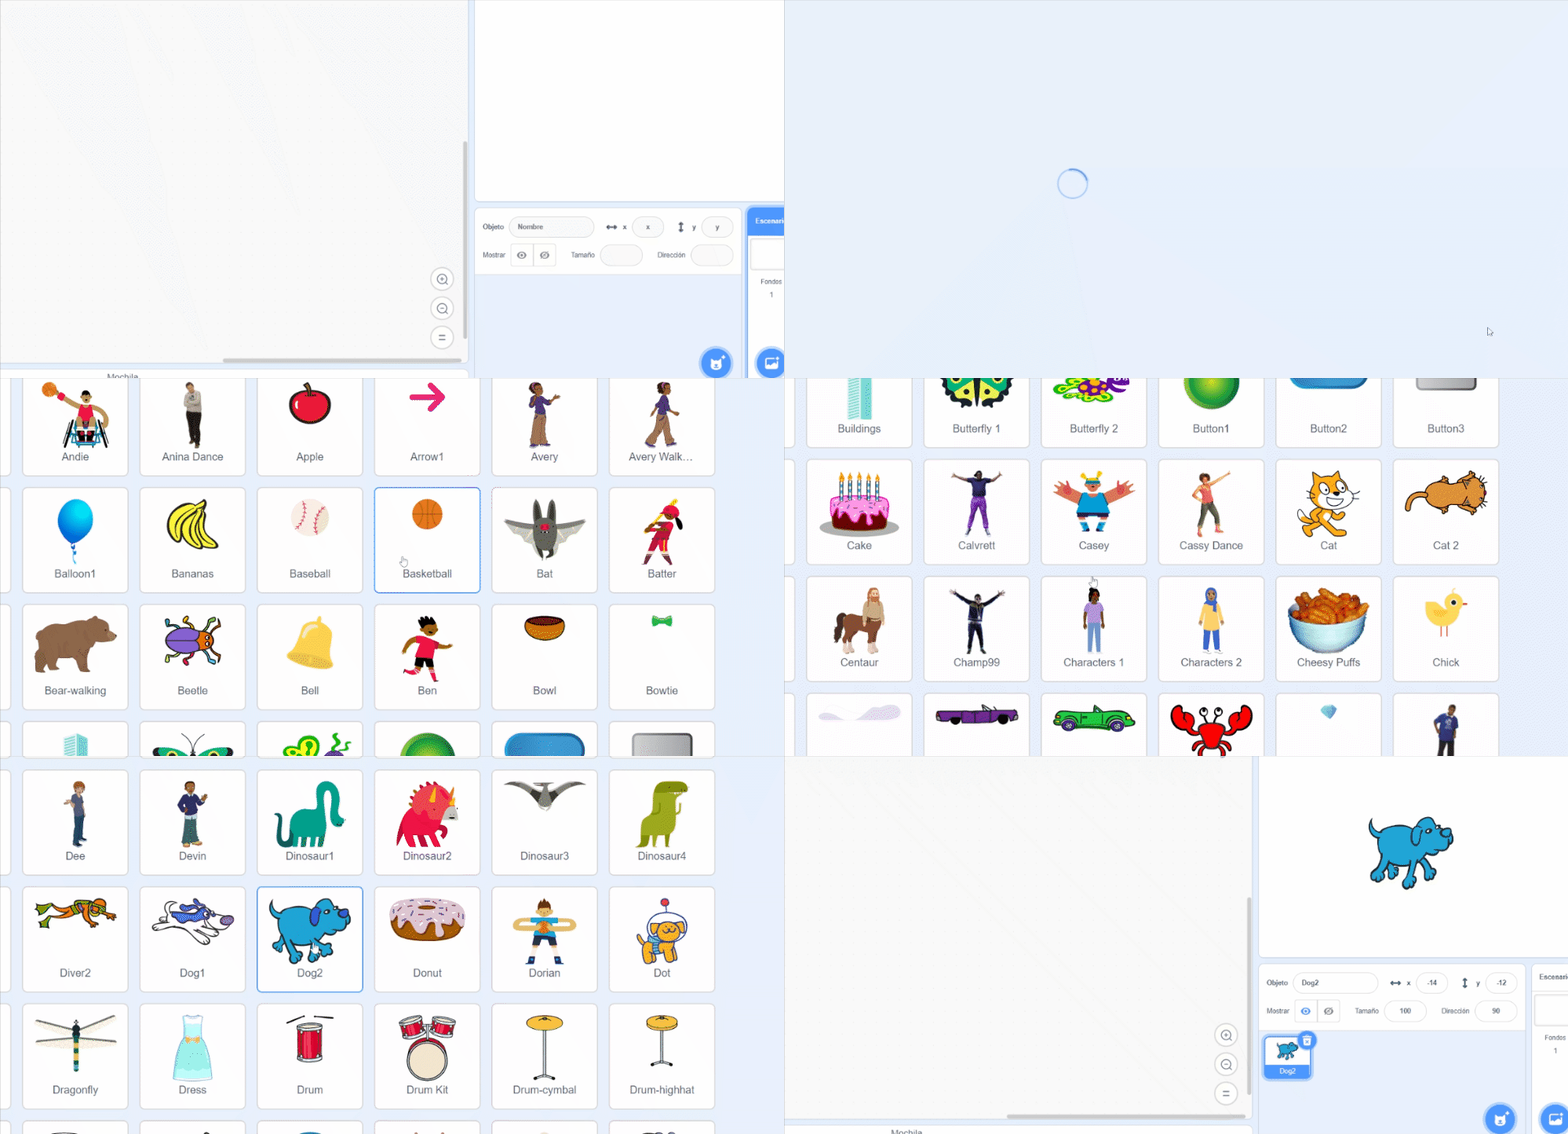
Figure 20. Select an object from the gallery
Once we have selected our character, we will implement the code in Figure 21. This makes use of the “forever” loop, which runs indefinitely. Within it, we will include the block in Figure 19, to change the RGB values of each pixel of the character in an increment of 25 units.
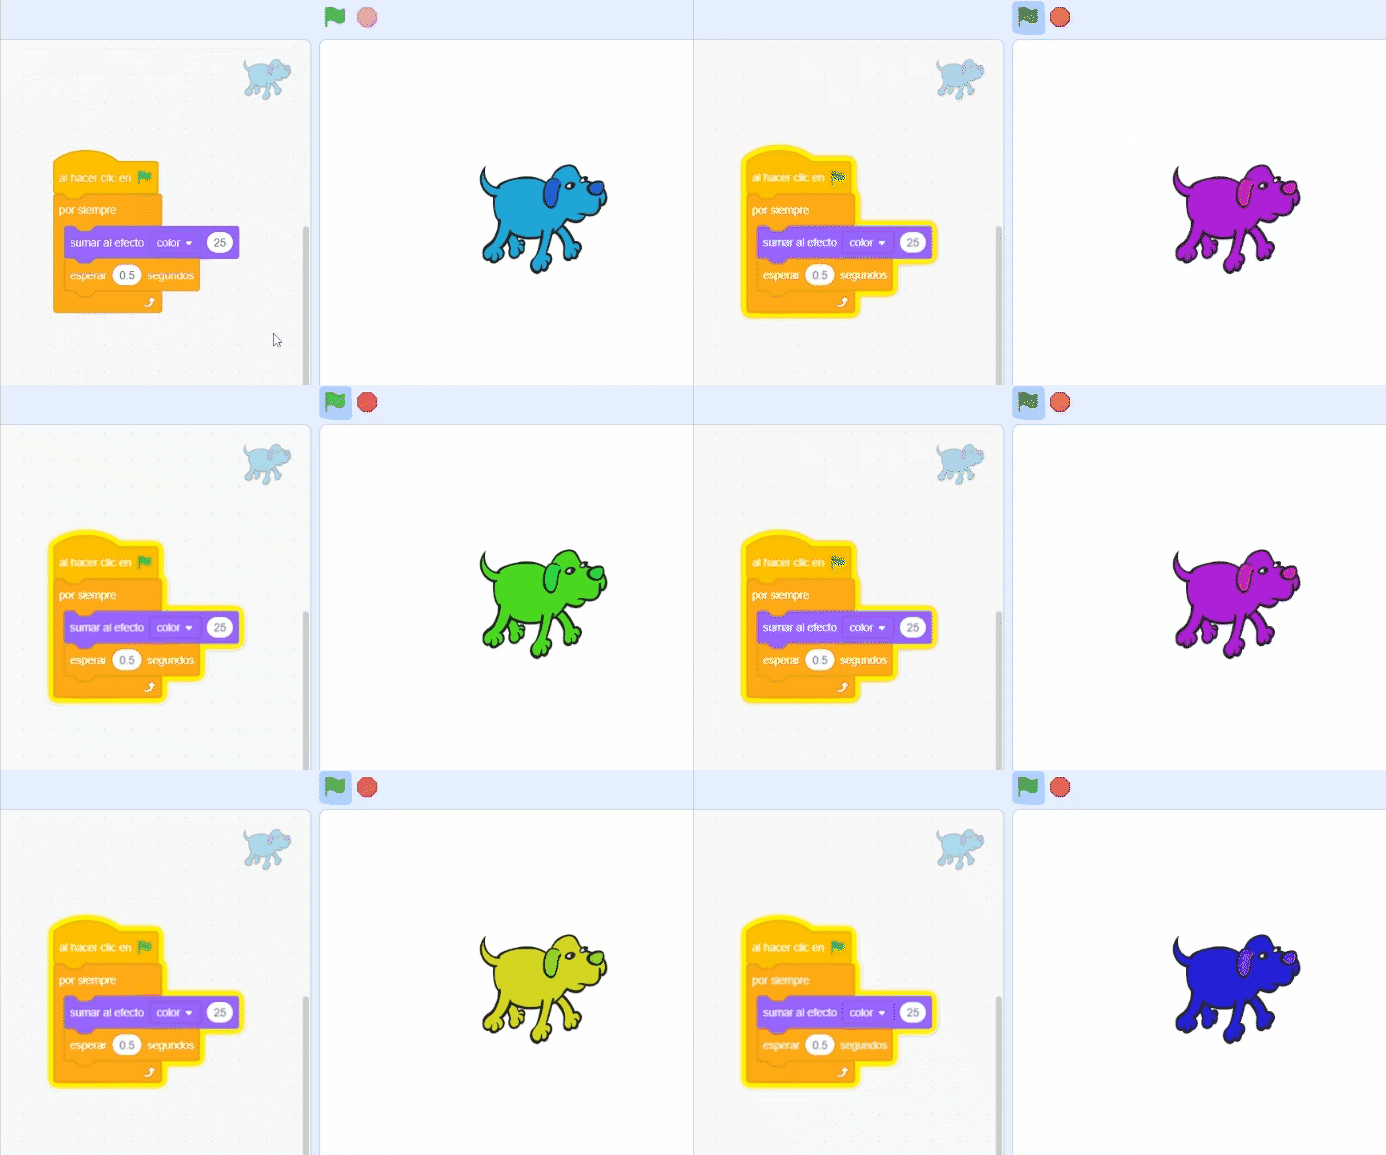
Figure 21. Change character colour
Example 2: Following the cursor
In this example, we will look at one of the most common uses of loops in video game development: move the character. The character can move based on multiple events, such as pressing a key, following an animation or dialogue, coming into contact with another object, and so on.
In this example, we are going to see how we can use infinite loops to make our character follow us around the screen as we move the cursor.
Once we have selected the character we want to work with, we must implement a code that constantly moves the character in the direction of the mouse cursor.
For this purpose, we have the block ![]() , which detects the position of the course on the screen and put the character in that direction. However, this block does not allow movement of the block, so it is necessary to use it in combination with the block
, which detects the position of the course on the screen and put the character in that direction. However, this block does not allow movement of the block, so it is necessary to use it in combination with the block ![]() . The latter allows the character to scroll a certain number of steps (pixels) on screen in each iteration, which allows us to control the speed of movement.
. The latter allows the character to scroll a certain number of steps (pixels) on screen in each iteration, which allows us to control the speed of movement.
Figure 22 shows the code in operation.
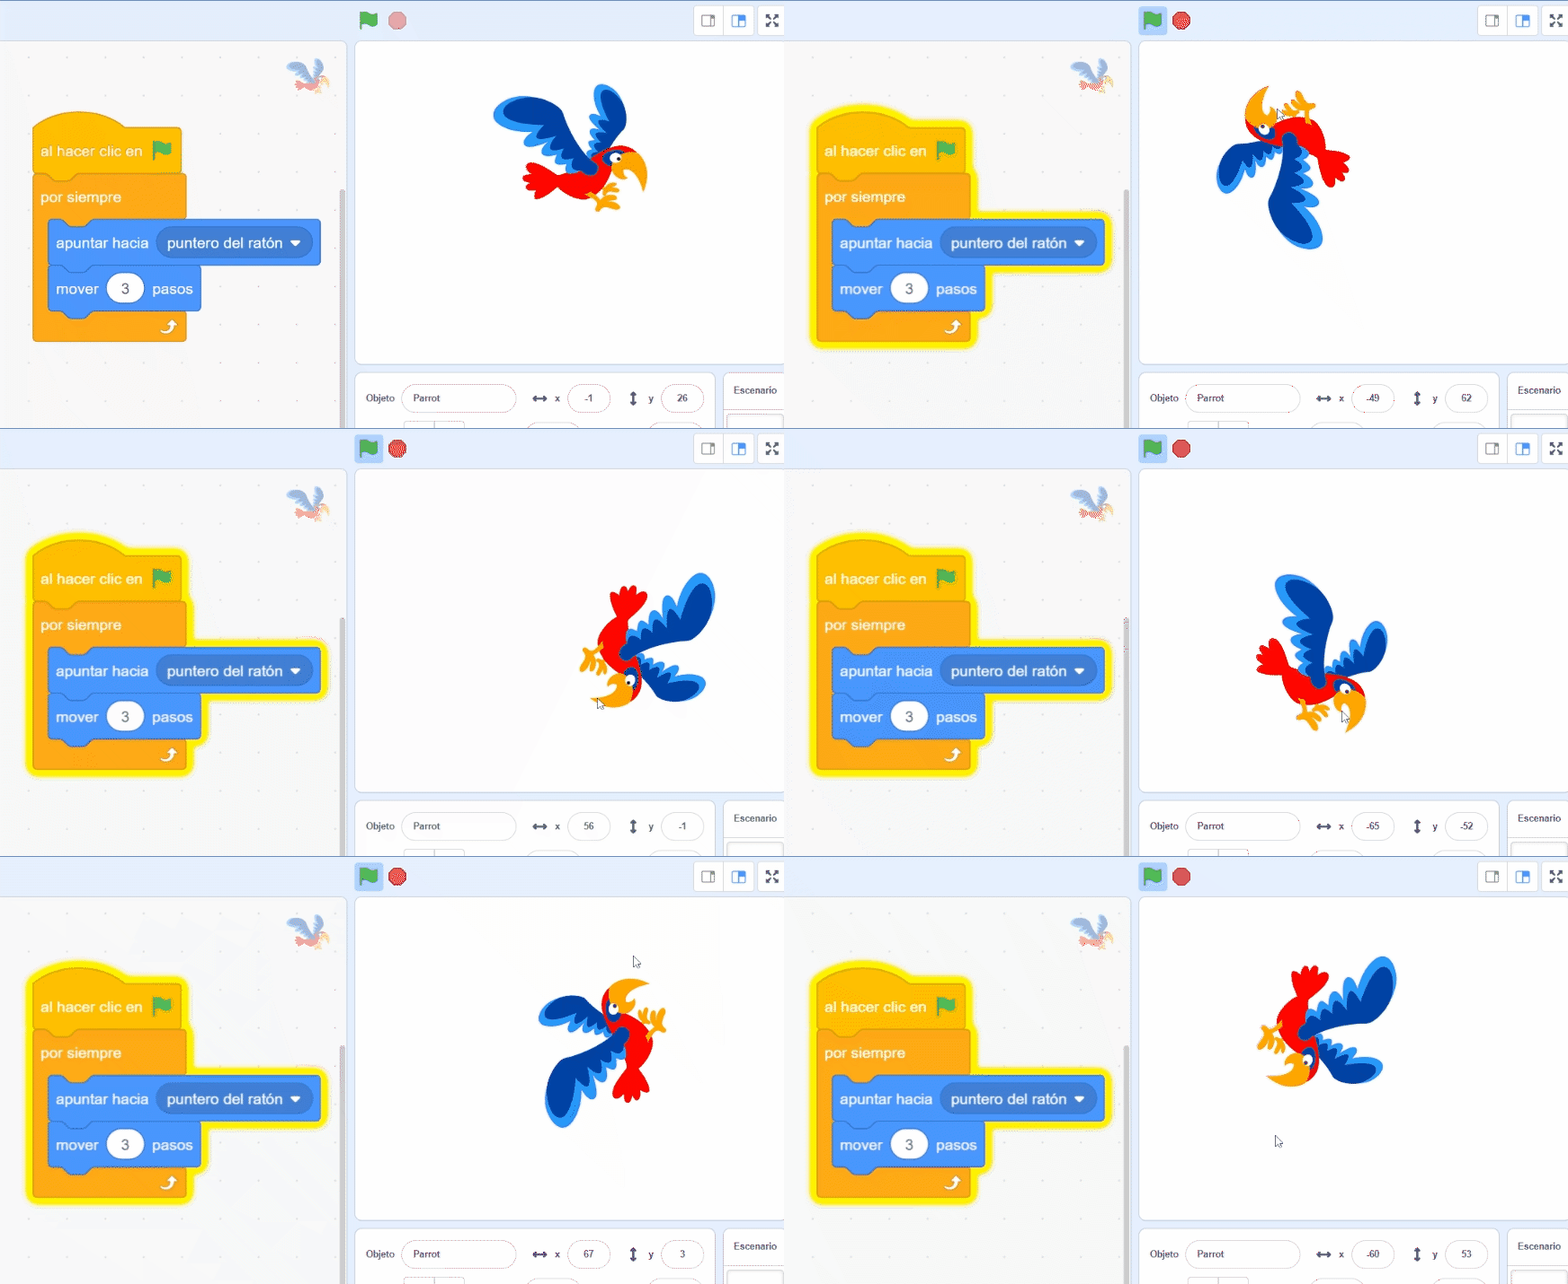
Figure 22. Make the character follow the cursor
Example 3: Move a character
In a video game, on-screen elements are animated, i.e. their sprite changes as characters walk, jump or take damage. An animation is just a set of images that interchange with each other to simulate a certain movement. Scrolling between these images can be done by means of loops (among many other options).
In the example above, we have made our bird move towards the cursor, but its movement does not look very natural, as it does not flap its wings.
Many of the images we have in the Scratch gallery play a small animation when we put the cursor over them, as shown in Figure 23.
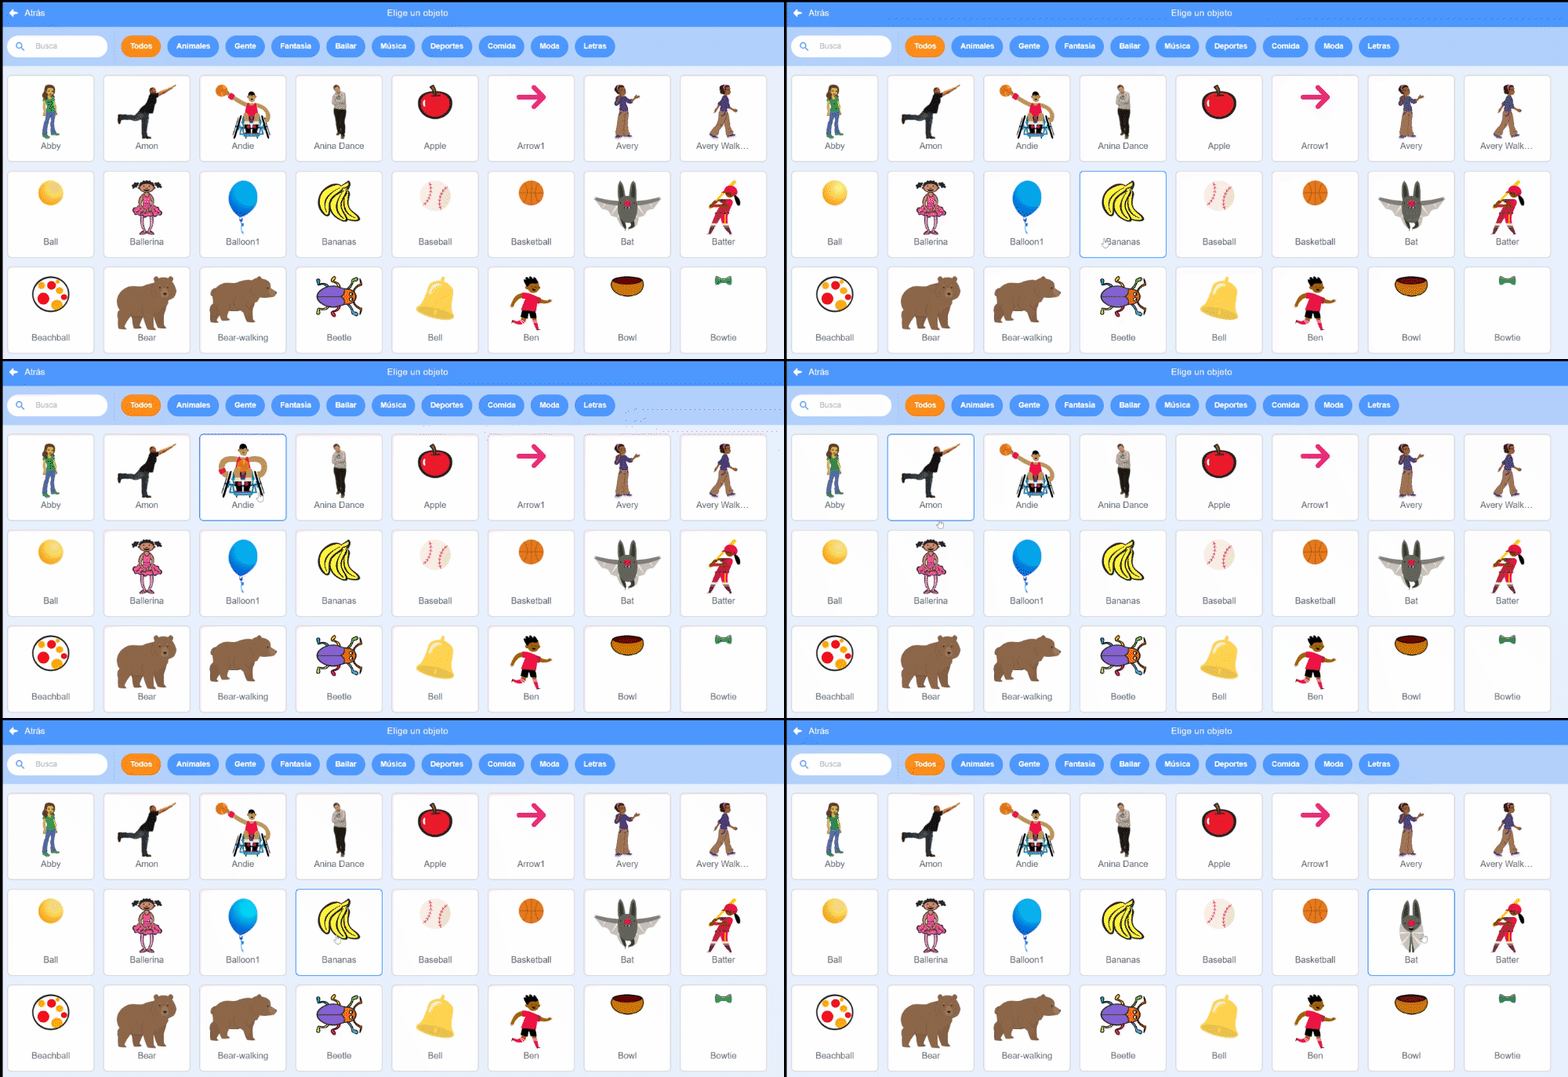
Figure 23. Animated Sprites
This time, we are going to modify the previous example so that the character flaps as it moves across the screen following the cursor. As mentioned above, animations are nothing more than images that are executed one after the other to simulate a certain effect.
What we need to add to the above example is a function that allows us to change the image of the character to the next animated image, i.e. the next frame. For this purpose, we have a specific block called ![]() which allows to switch automatically (within the loop) to the next animation.
which allows to switch automatically (within the loop) to the next animation.
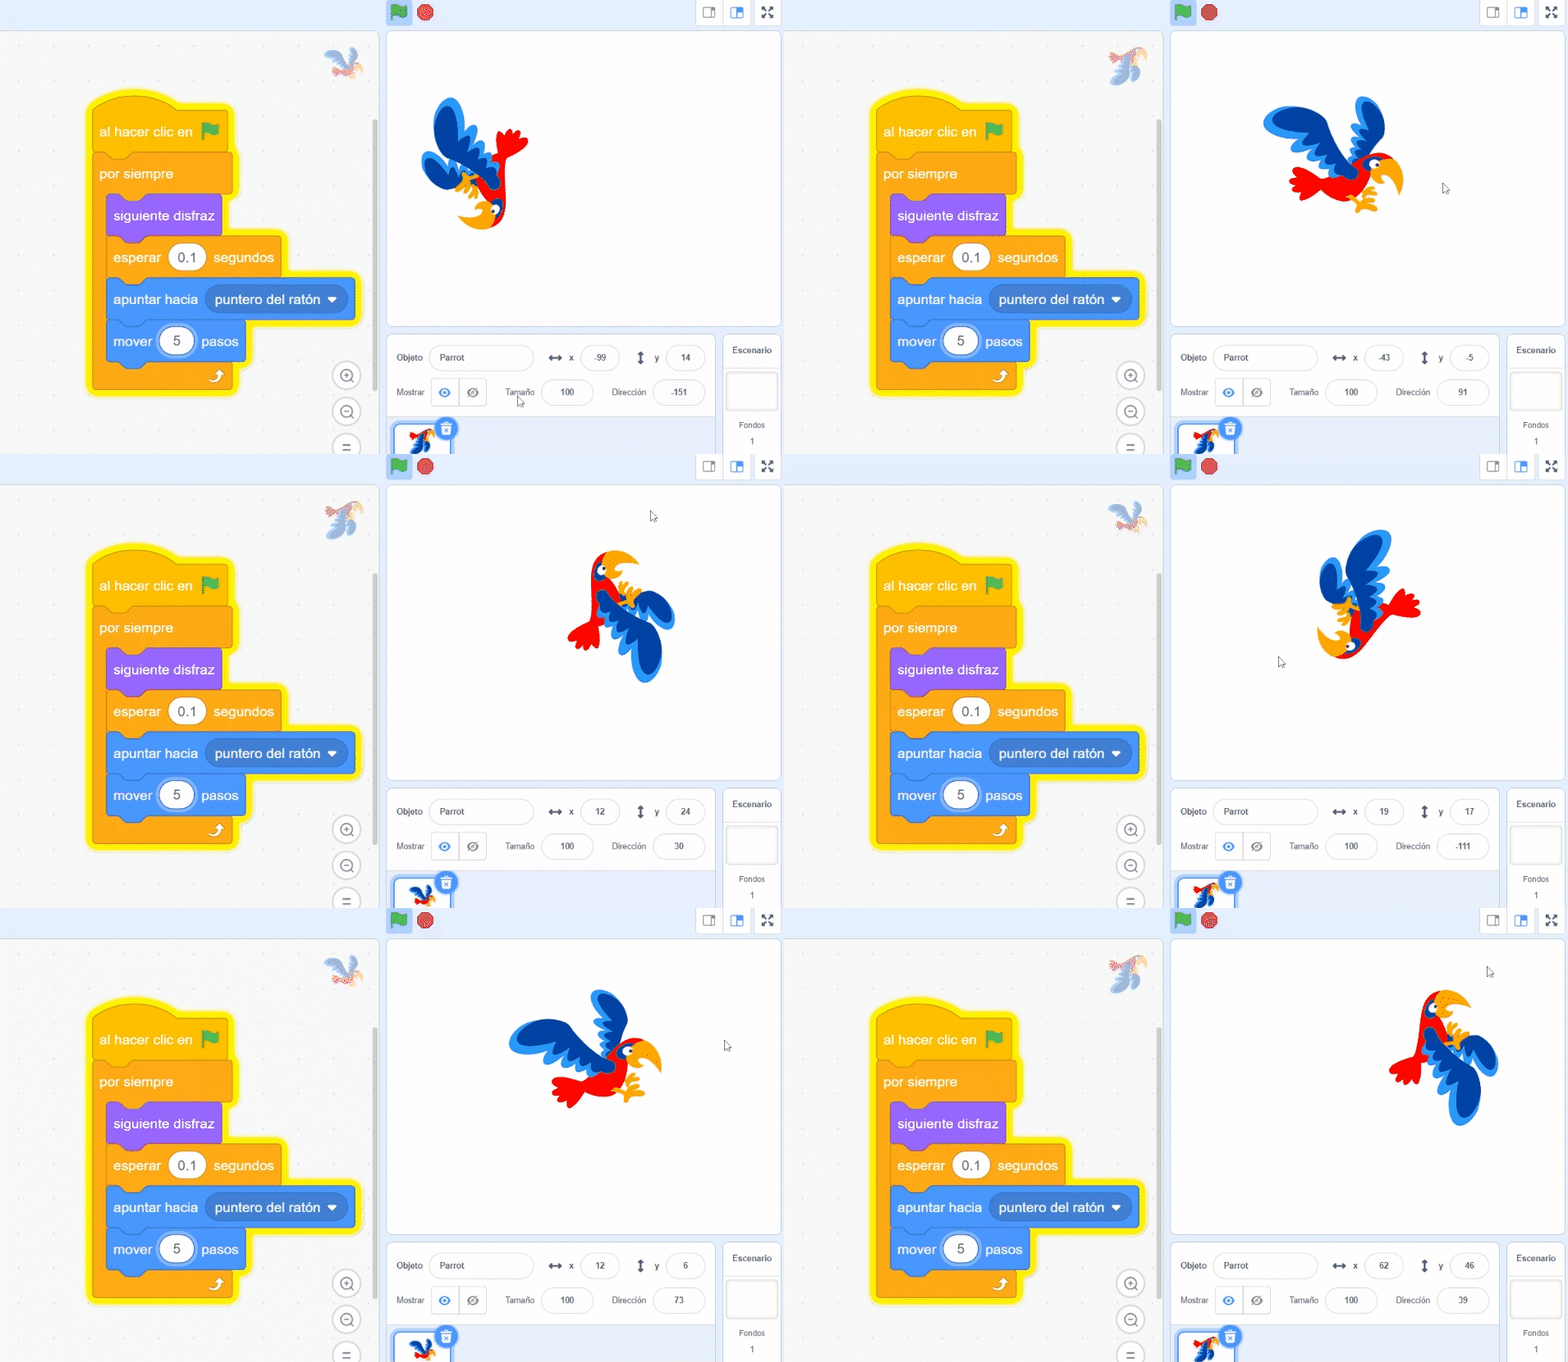
Figure 24. Character animation
CONDITIONALS
As we have seen, conditionals are a widely used element in programming, especially in combination with loops.
Before looking at practical applications of conditionals, we need to know what types there are and their main characteristics and differences.
 |
This block executes a piece of code if the specified condition is met. |
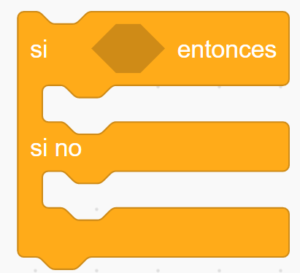 |
This structure is known in programming as IF-ELSE. If the condition is met, a particular code is executed, but if it is not met, another code is executed. It is a variation of the previous block. |
 |
This block is not a conditional as such. It allows to pause the code until a condition is met. |
Figure 25. Types of conditionals
It must be taken into account that conditionals execute or stop something if a certain condition is met, which is (in many cases) determined by some numerical parameter. An example of this would be the character’s health. When our character is wounded, his life drops to zero, at which point he dies, or in other words, if “Life <= 0”, the game should display a message on the screen saying ‘GAME OVER’.
| The block checks if the first value is less than the second. If less, the block returns true; otherwise, it returns false. This block also works with letters as well as numbers. In Scratch, the letters at the top of the alphabet (e.g. a, b, c) are worth less than those at the bottom (e.g. x, y, z). | |
| The block checks if the first value is equal to the other. If the values are equal, the block returns true, otherwise false. This block is not case-sensitive. | |
| The block checks if the first value is greater than the other. If the second value is less, the block returns true; otherwise, it returns false. | |
| The block joins two boolean blocks, so both have to be true to return true. If both are true, the block returns true; if neither or both are true, it returns false. | |
| The block joins two boolean blocks, so that either of them can be true to return: if at least one of them is true, the block returns true; if neither of them is true, it returns false. | |
| The block checks if the boolean is false – if false, the block returns true; if the condition is true, it returns false. |
Figure 26. Types of mathematical operators
Now that we know about conditionals and loops, let’s look at some practical examples:
Example 4: Modifying an animation when an event occurs
In this example we are going to create a small code in which we will modify the animation of a character when it collides with another character. To contextualize it within the dynamics of the game, we are going to create one in which a shark has to catch a fish.
As our game is going to take place underwater, we are going to select a background that fits our theme from the ones provided by Scratch. To do it, we follow the steps shown in Figure 27.

Figure 27. Select wallpaper
Now we select our characters: a shark and a fish. As we can see, the size of both characters is very similar, but we want the shark to be bigger than the fish, so we are going to scale it.

Figure 28. Re-scale characters
Our shark doesn’t seem to be too keen to eat anything, as the default image shows its mouth is closed. To fix this, we will change the image of the character to select one in which the character’s mouth is open, as shown in Figure 29.

Figure 29. Change character costumes
Finally, we show the code in which the shark closes its mouth when it touches the fish.
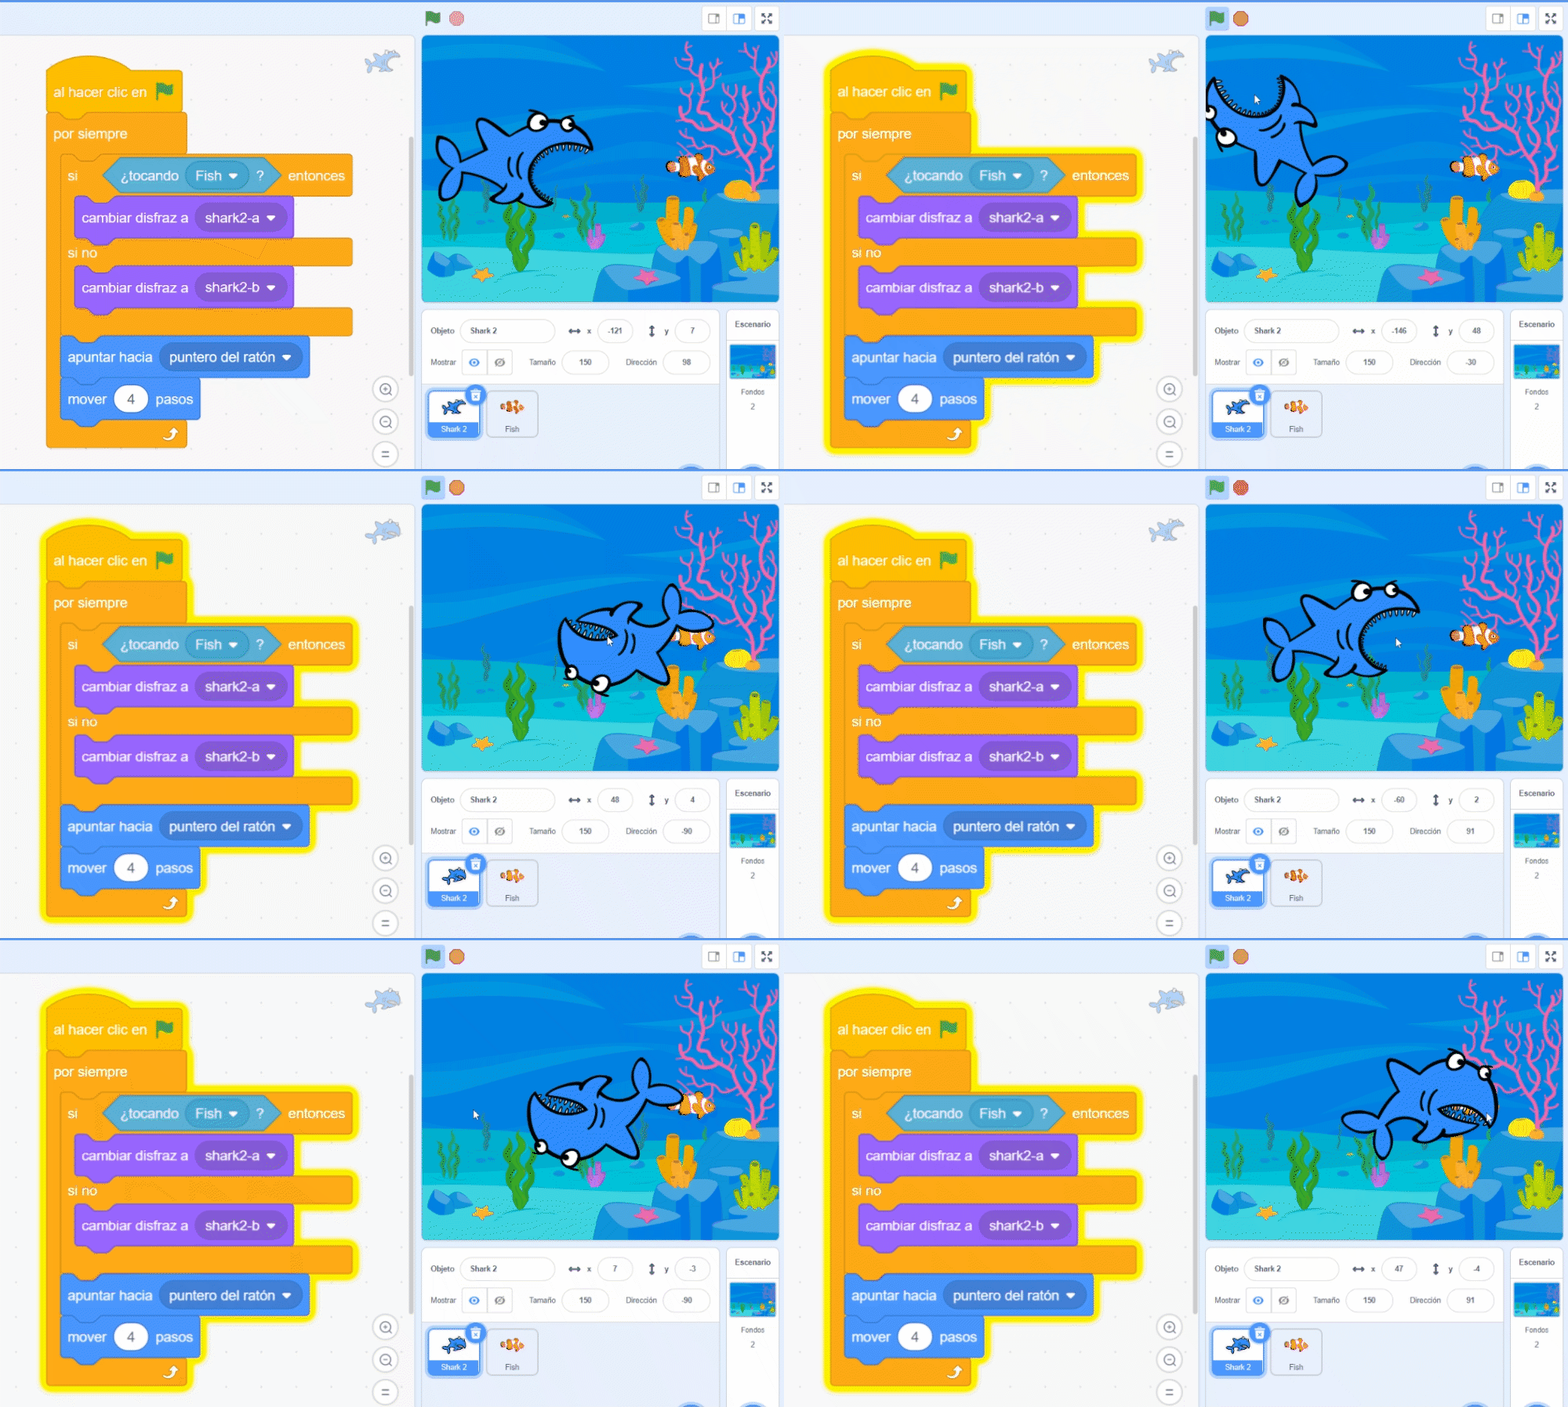
Figure 30. Interaction between characters


